We all have that easy makeup look we find ourselves going back to day after day. While the components to our looks might vary, here's what I find essential for my everyday Face of the Day (FOTD).
What type of products do I use for my day-to-day looks?
- Sheer foundation evens out my skintone and provides a base for my other makeup
- Undereye concealer is essential to brighten up my dark undereye circles
- Blush gives me that extra glow
- A sheer wash of eyeshadow similar to my lid color brightens up my eyes
- Eyeliner, curled lashes, and mascara give my small eyes some extra definition
- "My Lip But Better" lipstick finishes off the look and pulls everything together
I use pretty much the same "formula" everyday but just alter the specific products.
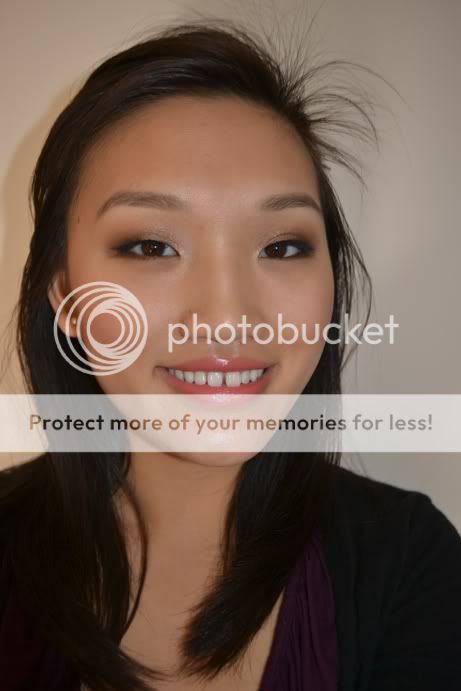
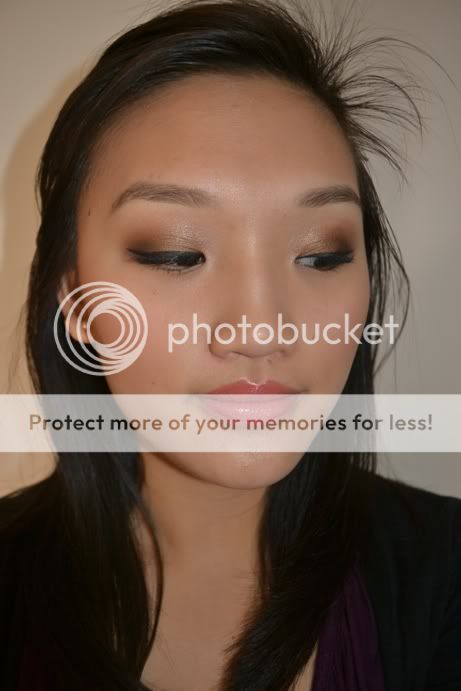
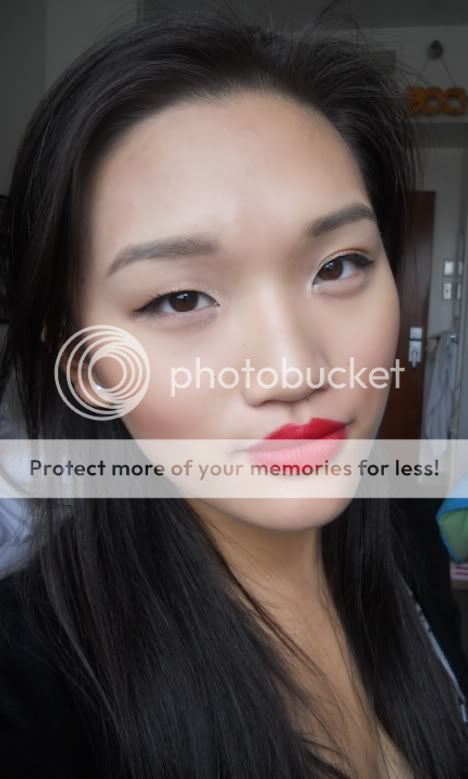
This has been my everyday go-to FOTD using the products I brought with me on my month long trip. Today's is a warm, pink/coral version. You might be thinking, "coral in the winter??" Not to worry it's a balmy 70 degrees here in California!
Products I used:
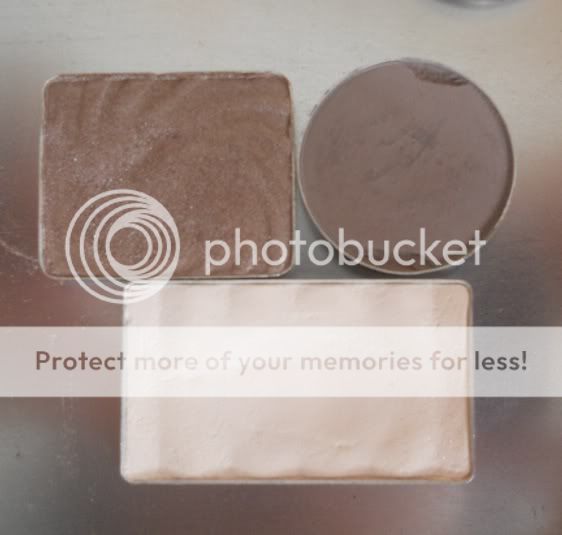
Face: Make Up For Ever Face & Body foundation, Revlon Age Defying concealer, Tarte Amazonian Clay blush in Exposed
Eyes: Urban Decay Primer Potion, Wet n Wild Comfort Zone eyeshadow palette (top 2 shades on the left), Clinique gel liner in black, CoverGirl Lashexact waterproof mascara
Lips: MAC See Sheer lipstick
If you're enjoying these posts don't forget to subscribe to my blog! Coming up next will be a post on how to create a day-to-night look! :)
What is your everyday makeup look?


